Ad. When you purchase through links we provide, we may receive an affiliate commission. Here's how it works.
How to Clean Hardwood Floors Without Damage, Safely (2026)
Most hardwood floor guides skip the most important step.
They tell you which mop to buy and which products to avoid — but they never tell you to identify your finish first.
That’s the mistake.
The finish on your floor determines your cleaner, your moisture level, and your tool — getting this wrong is the primary cause of irreversible hardwood damage.
Here is how to clean hardwood floors correctly, starting with a 10-second test that changes everything.
TL;DR — How to Clean Hardwood Floors Without Damage
Identify your finish type using the water bead test.
Then sweep or vacuum daily to remove abrasive grit.
Damp-mop weekly with a pH-neutral cleaner matched to your finish.
Never use a wet mop, steam, or vinegar.
Too much water causes more damage than the wrong product — and both are avoidable.
What You’ll Need
Required:
- Microfiber dry mop or vacuum with a hard-floor setting (beater bar off)
- Microfiber flat mop — used nearly dry, not damp
- pH-neutral cleaner formulated for your finish type (polyurethane, oil, or wax)
Optional:
- Spray bottle for dilutable concentrate
- Enzyme-based spot cleaner for organic stains (pet accidents, food)
- Humidity monitor — target 30–50% RH per NWFA maintenance guidelines
- Felt furniture pads for ongoing floor protection
How to Clean Hardwood Floors: Step-by-Step
You have solid white oak in the living room, installed five years ago, with a satin polyurethane finish.
It looks dull despite weekly mopping — because the cleaner you’ve been using leaves residue.
Here is the exact process to fix it and keep it clean without damaging the wood.
Step 1: Identify Your Floor’s Finish — Do This Once Before Anything Else
Run the water bead test: drop a few beads of water on an inconspicuous section of floor.
If the water beads and sits on the surface, you have a surface finish — polyurethane, aluminum oxide, or UV-cured.
If it absorbs within 30 seconds, you have a penetrating finish — wax or oil.
Most modern floors (installed after 1990) have polyurethane. If you inherited older floors, wax or oil is more likely.
For engineered vs. solid hardwood, check the plank edge near a wall — engineered shows visible plywood or HDF layers; solid shows continuous grain throughout.
This step changes everything that follows.
Write down your finish type and keep it with your household maintenance notes.
Step 2: Sweep or Vacuum Before Every Mop
Sand, grit, and tracked-in debris act like sandpaper under a damp mop.
Dragging them across the surface before lifting them is the primary mechanism of micro-scratch accumulation.
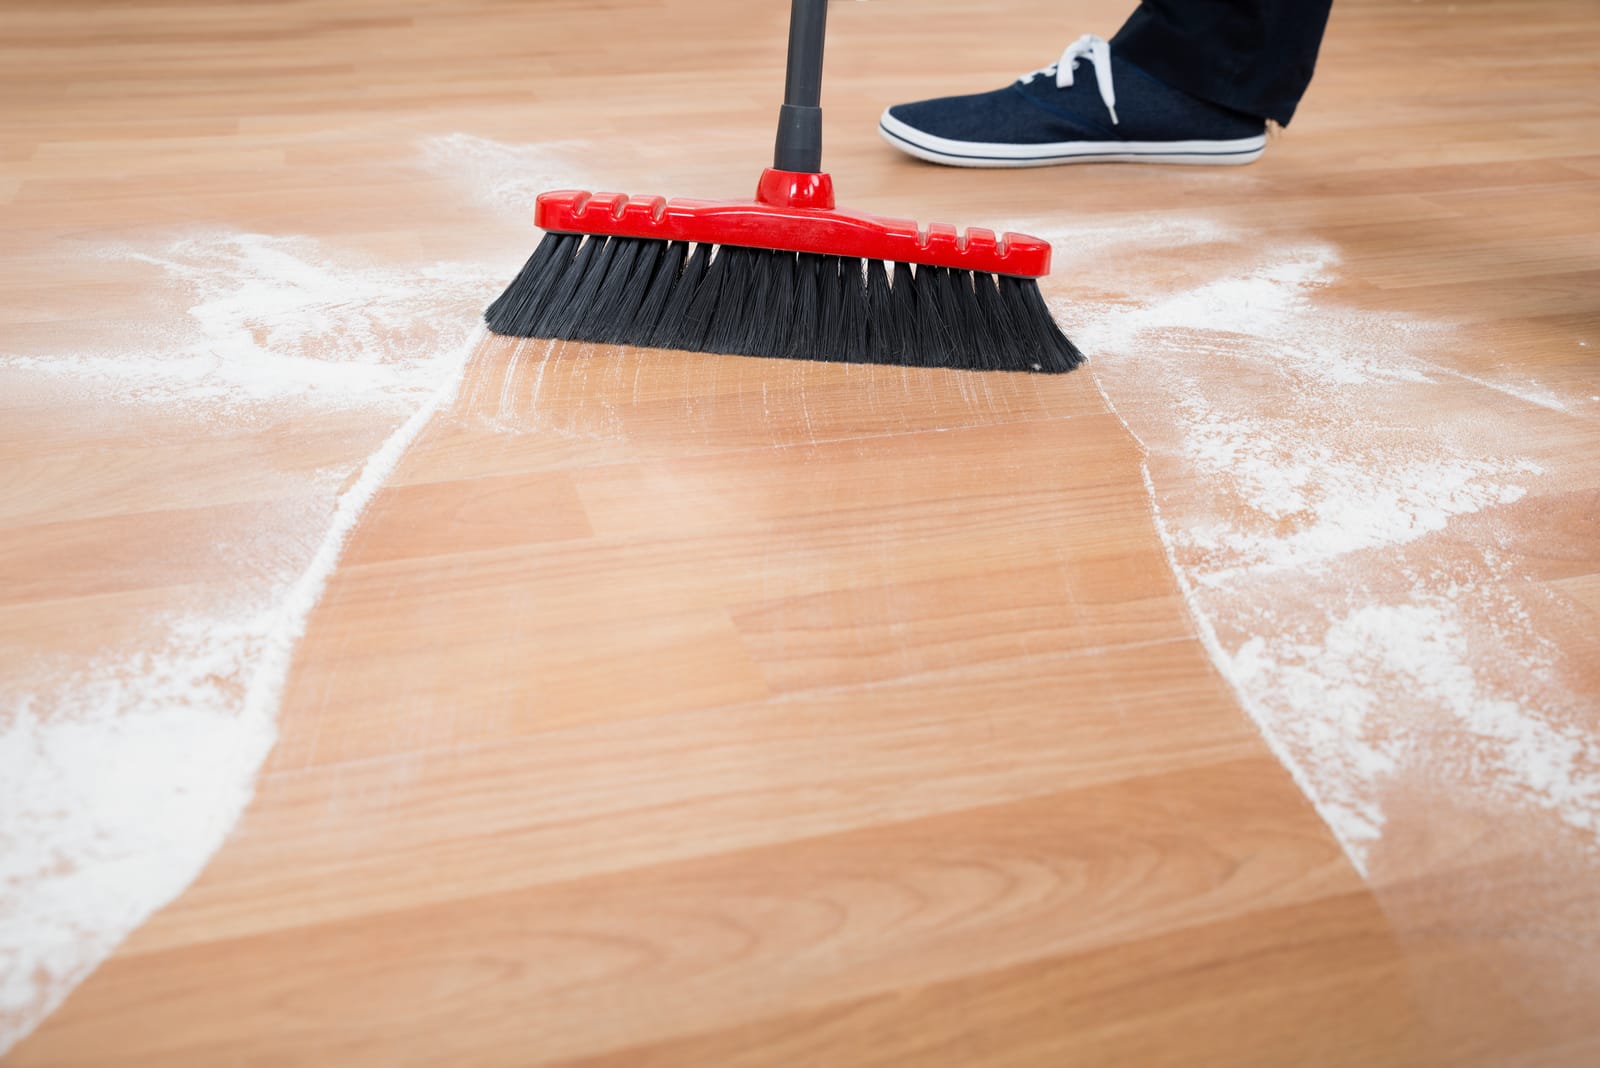
Daily sweeping is the single highest-return floor maintenance habit — it takes three minutes and prevents damage that no product can reverse.
Use a microfiber dry mop or a vacuum on hard-floor mode (beater bar fully off).
Work with the direction of the grain.
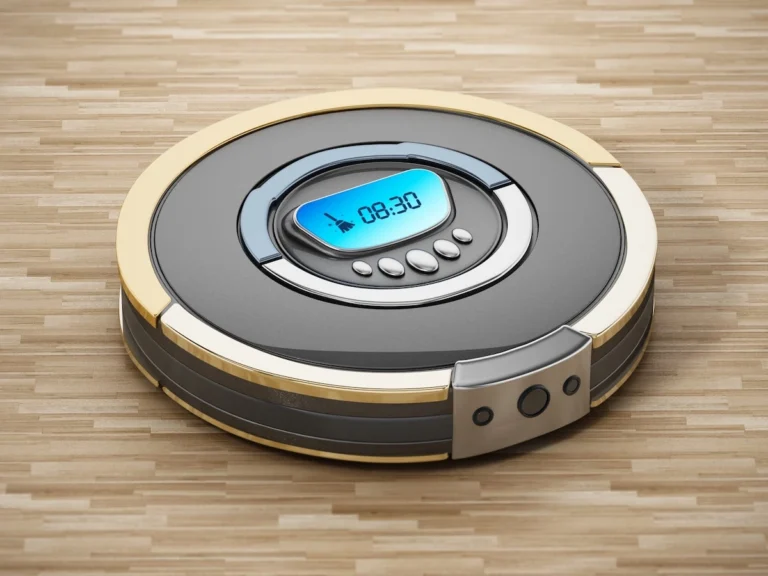
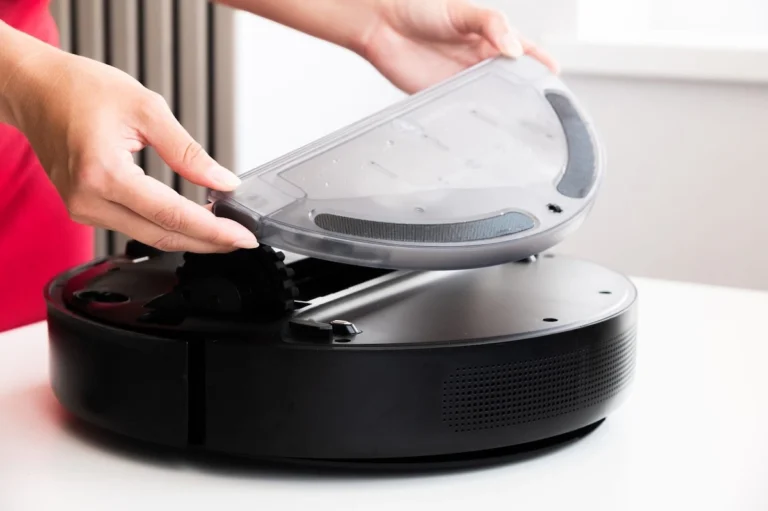
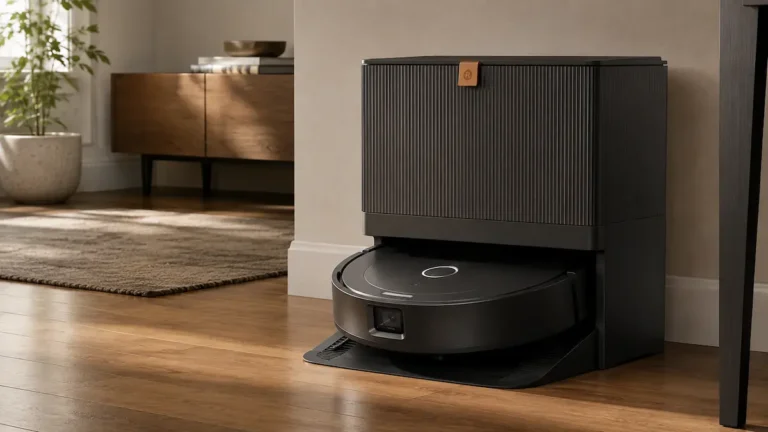
For households with pets or heavy foot traffic, a scheduled robot vacuum handles this without you thinking about it — see our comparison of robot vacuums vs. regular vacuums to weigh your options.
Step 3: Prepare Your Cleaner for Your Finish Type
Polyurethane finish (most floors): use a pH-neutral, polyurethane-safe hardwood cleaner.
Follow the dilution ratio on the label exactly.
General-purpose floor cleaners often contain surfactants or alkaline agents that build residue and dull the finish over time.
Oil finish: use a cleaner specifically formulated for oiled wood.
These products replenish the oil while cleaning.
Standard water-based cleaners strip the finish and leave the wood exposed.
Wax finish: use plain, barely damp water or a wax-safe solvent.
Water-based surfactant cleaners lift the wax layer and create patchy dull spots that only rewaxing can fix.
Step 4: Damp-Mop in Sections — Never Flood the Floor
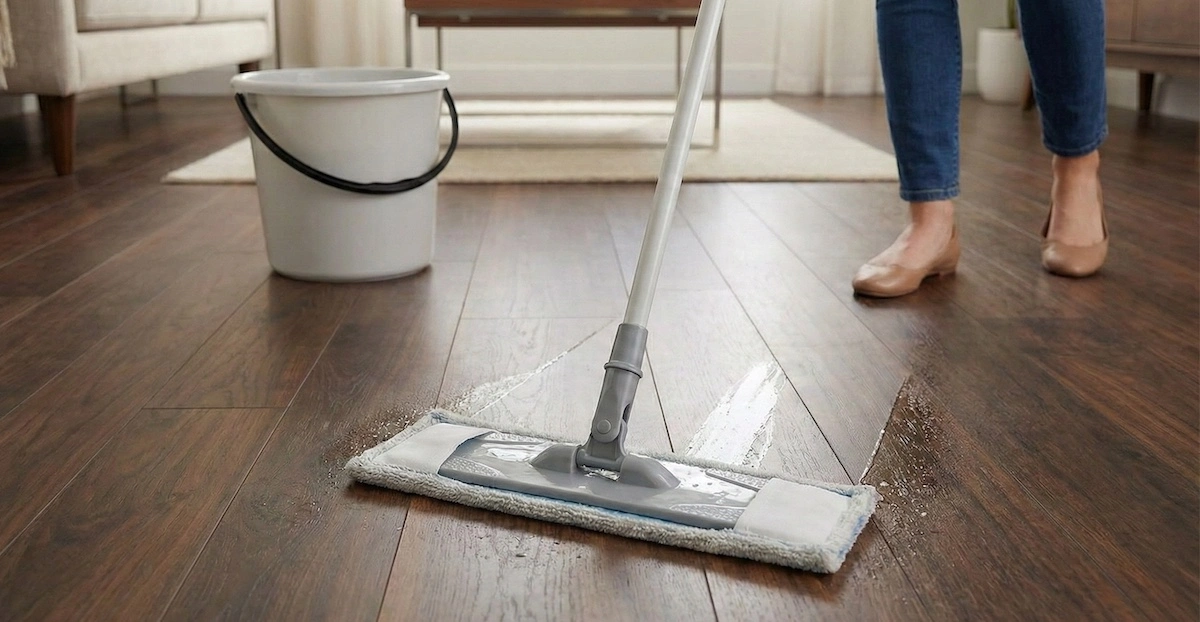
Apply your cleaner to the mop pad, not to the floor.
Work in 4–6 ft sections.
The mop should feel damp to the touch — not wet.
If you wring it and water drips, it is too wet.
If the floor looks visibly shiny-wet after the mop passes over it, it is too wet.
Move with the grain direction.
Hardwood expands and contracts across its width — excess moisture sitting perpendicular to the grain forces the most movement and causes the most damage at seams.
Step 5: Dry Immediately After Mopping
Follow the damp mop with a dry microfiber pad within 30–60 seconds, especially near seams and board edges.
Water that seeps into seams causes swelling, cupping, and eventually gray staining along the grain lines.
This step takes 30 seconds and prevents the most common type of irreversible moisture damage.
Step 6: Spot-Treat Marks and Stains
- Heel marks and scuffs: rub with a dry microfiber cloth in a circular motion.
Most lift without product. - White water rings: buff with a dry cloth.
Persistent rings respond to a small amount of mineral spirits on a cloth — applied to the cloth, not the floor. - Adhesive residue: apply mineral spirits to a cloth, hold for 10 seconds, lift gently.
- Pet accidents: blot immediately, then apply an enzyme cleaner to break down uric acid.
Rinse with a nearly dry microfiber cloth.
Act within minutes — urine left on hardwood seeps into seams and causes permanent staining.
For a full treatment protocol, see our guide on removing pet stains.
Why This Works
Every mistake that damages hardwood floors traces back to a mismatch between the cleaner or moisture level and the finish type.
Polyurethane is water-resistant but dissolves slowly under repeated acid exposure.
Oil finishes repel dirt but need oil-based replenishment to stay sealed.
Wax is porous and water-soluble.
Using the same product on all three is like washing wool, nylon, and leather with the same soap — some survive it, others don’t.
The moisture rule works for the same structural reason: hardwood is hygroscopic — it absorbs and releases moisture as humidity changes.
Add liquid faster than it evaporates and the wood swells across the grain, either cupping at the edges or forcing the finish to delaminate.
That damage is irreversible without sanding and refinishing.
The daily sweep works because abrasion is cumulative.
A single piece of sand under a mop does almost nothing.
A thousand passes with fine debris on the surface over two years turns a satin finish into a matte one — permanently.
Common Mistakes to Avoid
- Using a steam mop.
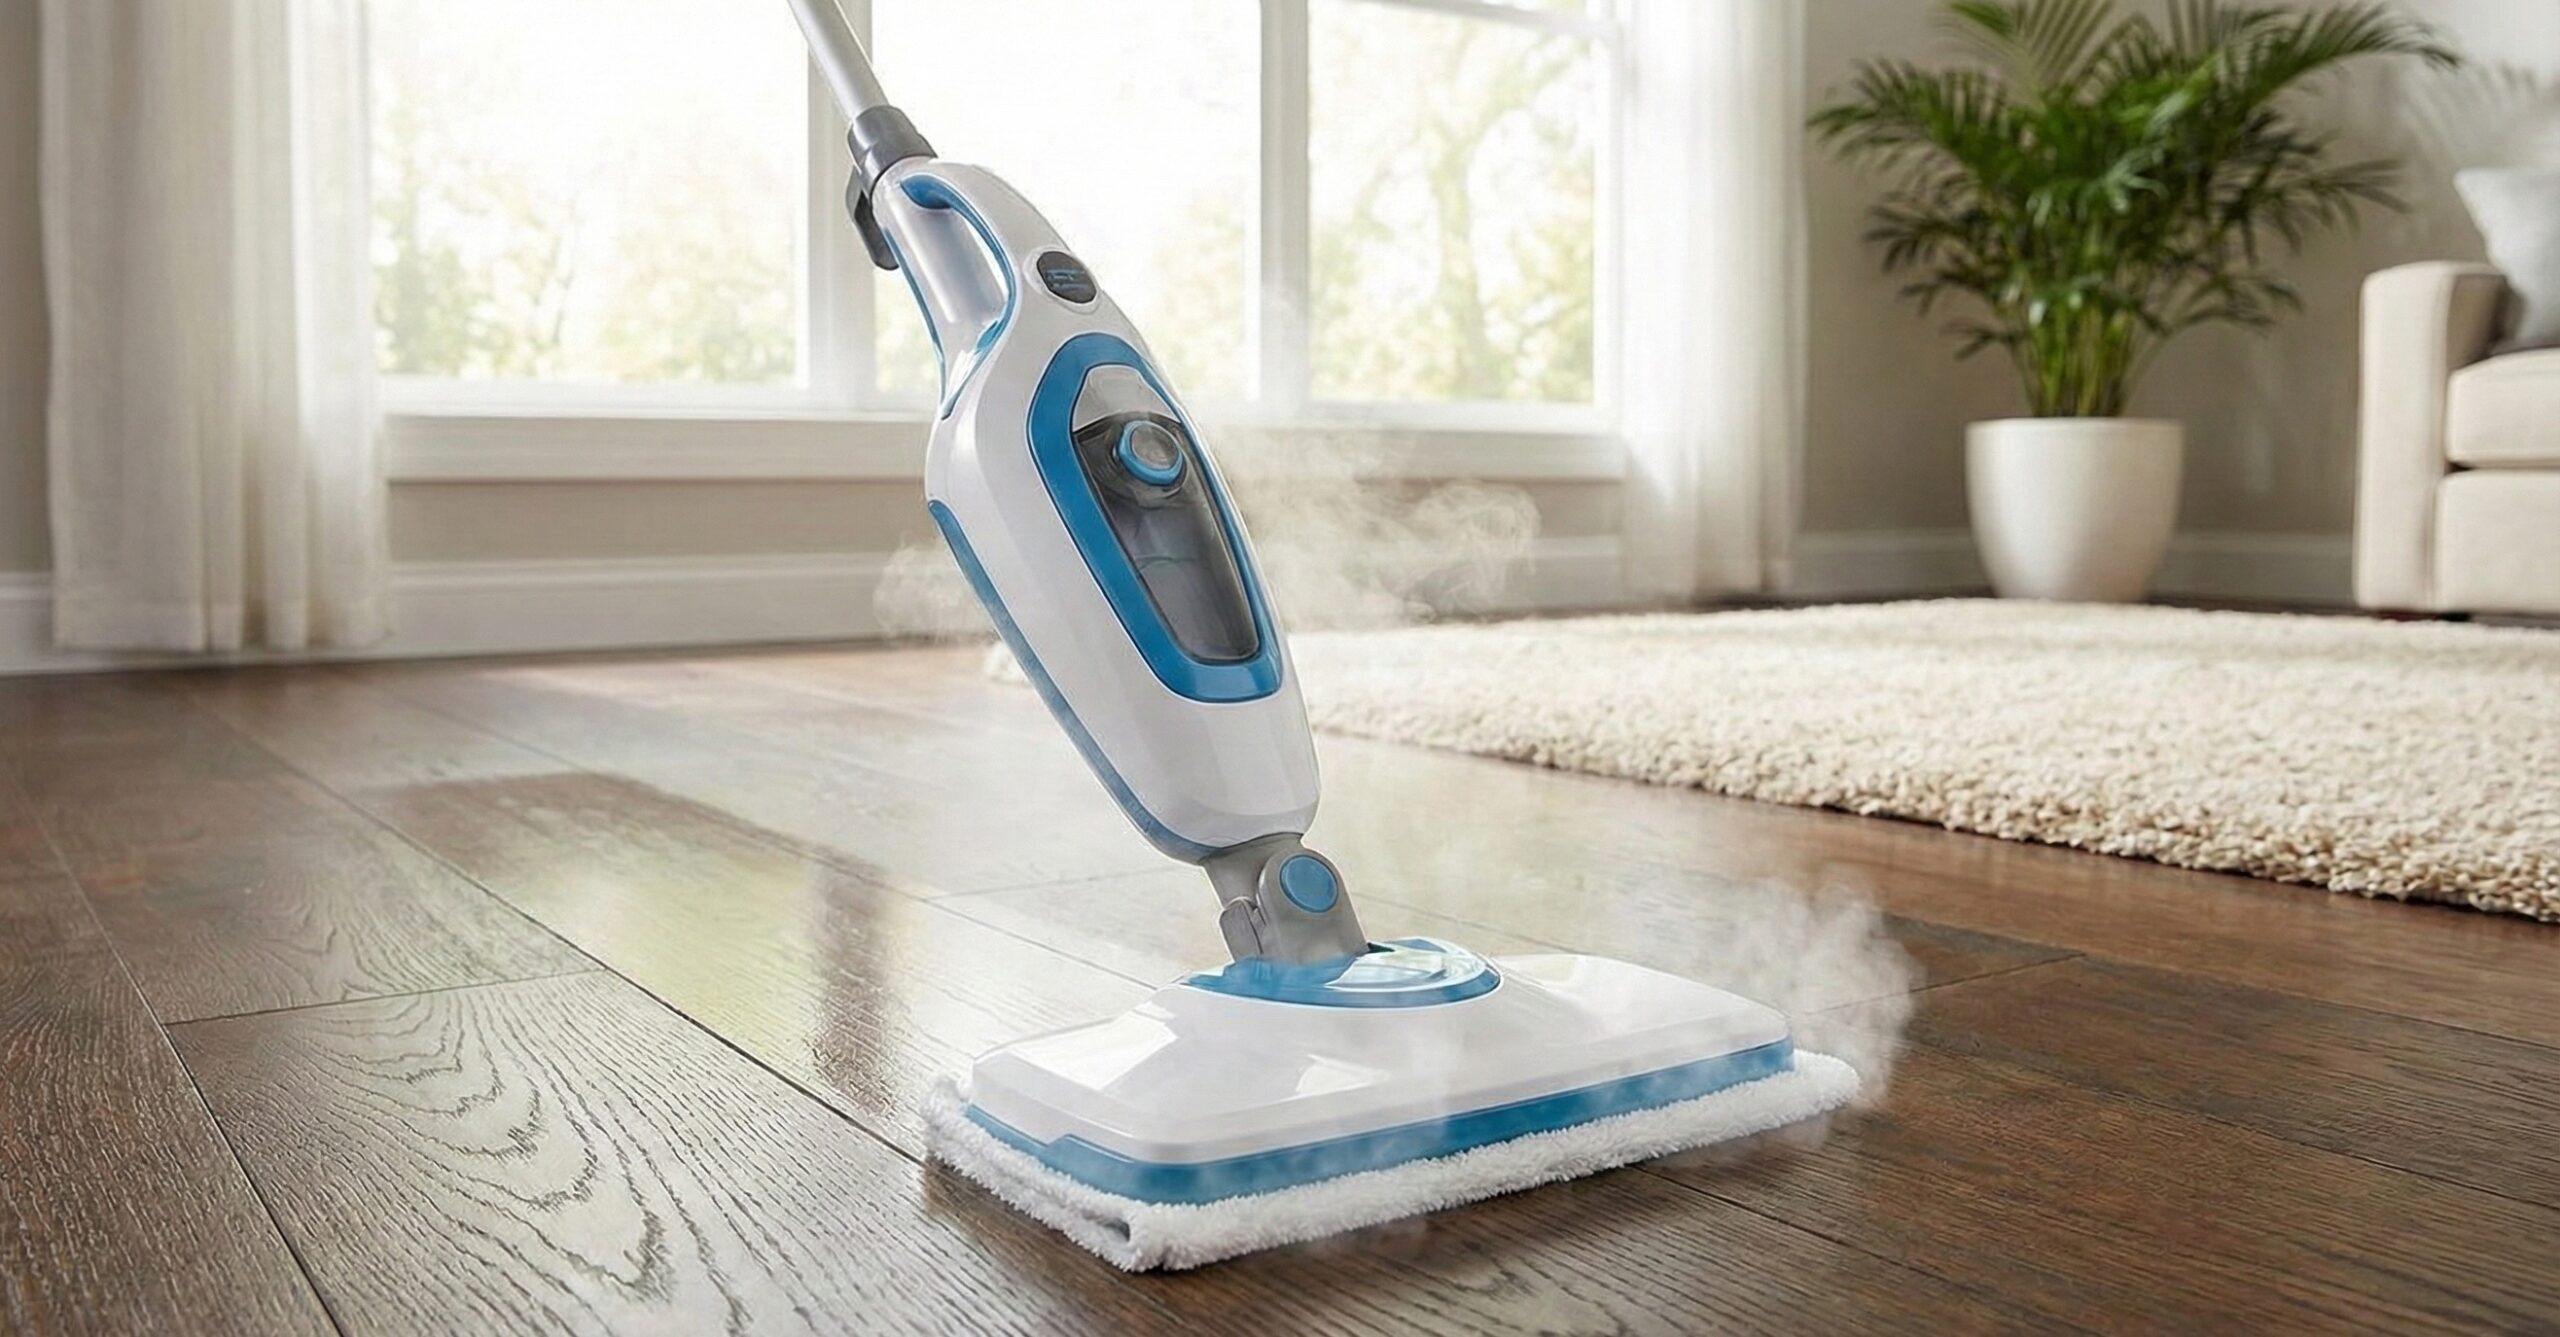
Steam forces vapor directly into board seams and between the finish layer and the wood.
The result is delamination, gray finish lines along board edges, and — in most cases — a voided manufacturer warranty.
The NWFA explicitly advises against steam mops on hardwood floors, and most flooring warranties exclude steam damage from coverage.
There is no exception for “lower steam” settings. - Using vinegar.
Vinegar is acidic (pH ~2.4) and degrades polyurethane finishes with repeated use — the damage is cumulative and cannot be reversed without recoating.
After a few months of regular vinegar cleaning, the surface develops a microscopically etched texture that kills shine permanently.
The fix requires professional recoating. - Mopping with a dripping-wet mop.
Cupping and seam swelling typically appear after 2–4 saturating sessions — by which point the repair requires sanding and refinishing, not just drying out.
Wring the mop until it feels damp, not wet, every single time. - Using multi-surface or “all-floor” cleaners.
Most contain surfactants that leave residue on polyurethane finishes.
After several uses, the floor looks permanently dull even when freshly cleaned.
Switch to a finish-specific cleaner and the dullness lifts. - Waxing over a polyurethane finish.
Wax does not bond to polyurethane.
It creates an uneven, slippery layer.
If you have a polyurethane floor and want restored shine, you need recoating — not wax.
Safety and Maintenance Tips
- Ventilate when cleaning.
Floor cleaners are VOC sources.
The EPA confirms indoor VOC concentrations run 2–5x higher than outdoors — open a window or run an exhaust fan during cleaning and for 30 minutes after. - Maintain 30–50% relative humidity year-round.
Hardwood expands and contracts with seasonal humidity swings — the NWFA specifies 30–50% RH and 60–80°F to prevent cupping, cracking, and finish delamination.
In humid basements or during summer months, a dehumidifier is the right tool.
For bedroom floors specifically, our guide to the best dehumidifier for bedroom covers quiet models that run overnight without disturbing sleep.
Our guide to best dehumidifiers for basements covers picks by capacity and climate. - Recoat every 3–5 years.
The NWFA recommends recoating hardwood floors every 3–5 years — a fresh top coat of finish applied over the existing surface, no sanding required — before scratches reach the wood layer.
It costs a fraction of a full refinish and restores both protection and appearance. - Use felt pads under all furniture legs.
Replace them annually — grit accumulates under old felt and turns it abrasive. - Automate daily dust removal.
A robot vacuum on a daily schedule handles grit removal without you managing it.
If you have hardwood across multiple levels, see our picks for the best robot vacuums for multiple floors.
Which Method Is Right for You?
- If you have a polyurethane finish → pH-neutral, poly-safe hardwood cleaner and a nearly dry microfiber mop
- If you have an oil finish → cleaner formulated specifically for oiled wood; avoid all water-based products
- If you have a wax finish → barely damp water mop only; no surfactant cleaners
- If you have waterproof engineered hardwood → standard damp-mop rules apply, but you have more tolerance for accidental spills; still blot immediately
- If you’re short on time → dry sweep or run the robot vacuum only; defer the wet mop to the weekend — skipping one wet clean won’t damage the floor, skipping the dry sweep will
- If you want a dedicated cordless vacuum for daily dry passes without a robot → our best cordless vacuums under $200 covers the lightest, most floor-safe options at that price point
- If your floor looks dull despite regular cleaning → the problem is residue buildup or finish degradation, not dirt; switch to a residue-free finish-specific cleaner and assess whether recoating is due
- If you have pets and daily accidents → prioritize an enzyme cleaner for organic stains; automate daily dry sweeping with a robot vacuum — see our picks for the best robot vacuums for pet hair
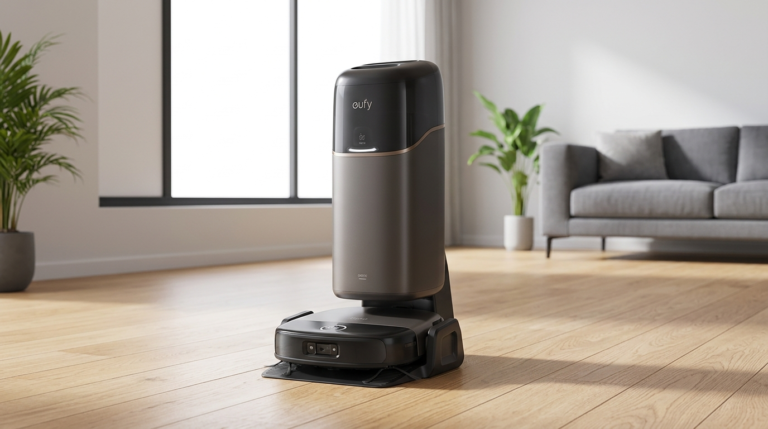
- For dry daily passes → a robot vacuum on a schedule is the most hands-off option on hardwood.
If that’s the route you want, our robot vacuum buying guide shows which models work safely on finished wood floors.
For a full breakdown of which models are safe for hardwood finishes, see our best robot vacuum for hardwood floors guide.
How We Developed This Guide
We reviewed maintenance protocols published by the National Wood Flooring Association, finish specifications from their official finishes reference, and the EPA’s documentation on indoor VOC sources.
We cross-referenced these with common failure modes reported by homeowners in professional flooring forums.
The finish-type framework at the center of this guide is the variable that determines whether every other recommendation will help or harm your floor.
For our full method and scoring rubric, see our review methodology.
Frequently Asked Questions
Dust mop or vacuum at least once a week — twice a week in high-traffic areas or homes with pets.
Damp mop with a pH-neutral cleaner once a week.
Deep clean professionally every 12 months to address buildup routine cleaning misses and to assess finish condition before problems develop.
No.
Steam mops force heat and moisture into the wood and seams simultaneously, which degrades the finish and causes the wood to swell.
This applies to both solid and engineered hardwood.
No hardwood floor manufacturer recommends steam cleaning, and most void warranties when steam damage is present.
No.
Vinegar is acidic (pH 2–3) and breaks down polyurethane and wax finishes with repeated use.
You may not see immediate damage, but over months the finish will dull and eventually fail, exposing raw wood to moisture.
Use a dedicated pH-neutral hardwood floor cleaner instead.
A pH-neutral cleaner specifically formulated for hardwood floors and matched to your finish type — polyurethane, oil, or wax.
Look for products that explicitly state which finish types they’re safe for.
Avoid multi-surface cleaners, general-purpose sprays, and any product that adds shine or polish — these leave a film that interferes with future recoating.
Streaks are usually caused by too much cleaner, a dirty mop head, or residue buildup on the floor. Use minimal cleaner — a barely-damp mop is enough.
Wash your microfiber mop head regularly; a dirty mop redistributes grime instead of removing it.
If streaks persist, clean the floor with plain warm water and a very well-wrung mop to strip any product residue, then let it dry completely before the next clean.
Prevention is the only reliable strategy.
Never mop with a wet mop.
Blot spills immediately — never let water sit.
Place entrance mats at all doorways.
Maintain indoor humidity between 30–50% year-round using a hygrometer to track it.
Felt pads under all furniture legs prevent scratches that can become entry points for moisture.
Yes — and it’s one of the best tools for keeping hardwood floors clean daily without the effort.
Use a model with soft rubber wheels, a suction-only or bare-floor mode (no beater brush), and ideally a mopping function with controlled water output.
The navigation system matters here too, since LiDAR and camera-based (vSLAM) models handle furniture legs and low light differently.
Daily vacuuming removes grit before it scratches the finish — the main mechanical threat to hardwood.
If you are weighing a robot vacuum against a tradition vacuum for your hardwood floors, our comparison between robot vacuum and regular vacuum covers the trade-offs directly.
See our roundup of the best robot vacuums for multiple floors for models that perform well on hardwood across different room types.
Refinish when the finish itself is failing — not just when the floor looks dull.
Signs it’s time: water no longer beads on the surface, deep scratches reach bare wood, or dull patches don’t respond to cleaning.
Before refinishing, try recoating — applying a fresh finish layer without sanding.
Recoating runs $1,000–$3,000; full refinishing is $3–$8 per square foot.
Knowing how to clean hardwood floors correctly and maintaining stable humidity can extend your finish’s life by years.
Clean Your Hardwood Floors the Right Way
Knowing how to clean hardwood floors correctly starts with one question: what finish do I have?
Answer that, and every other decision — cleaner, moisture level, mop type, frequency — follows logically.
Sweep daily, damp-mop weekly with a finish-matched cleaner, dry immediately, and recoat every 3–5 years.
That routine costs almost nothing and protects a floor that would cost thousands to replace.
For more floor care guidance across surface types, browse our full floor maintenance and care guides, or explore the full range of home comfort topics at EverydayHomeComfort.
If you’re also evaluating wet-dry vacuum options for floor cleaning, our best wet dry vacuums for home use covers the top picks by surface type.
And for households managing mixed flooring across levels, our best vacuum mop combos guide shows how an all-in-one machine handles the daily routine.
Disclaimer: Always consult your flooring manufacturer for specific maintenance recommendations.
The advice provided in this article is based on general industry standards for polyurethane-finished floors.
Always test products in an inconspicuous area.