Ad. When you purchase through links we provide, we may receive an affiliate commission. Here's how it works.
How to Clean a Robot Vacuum the Right Way
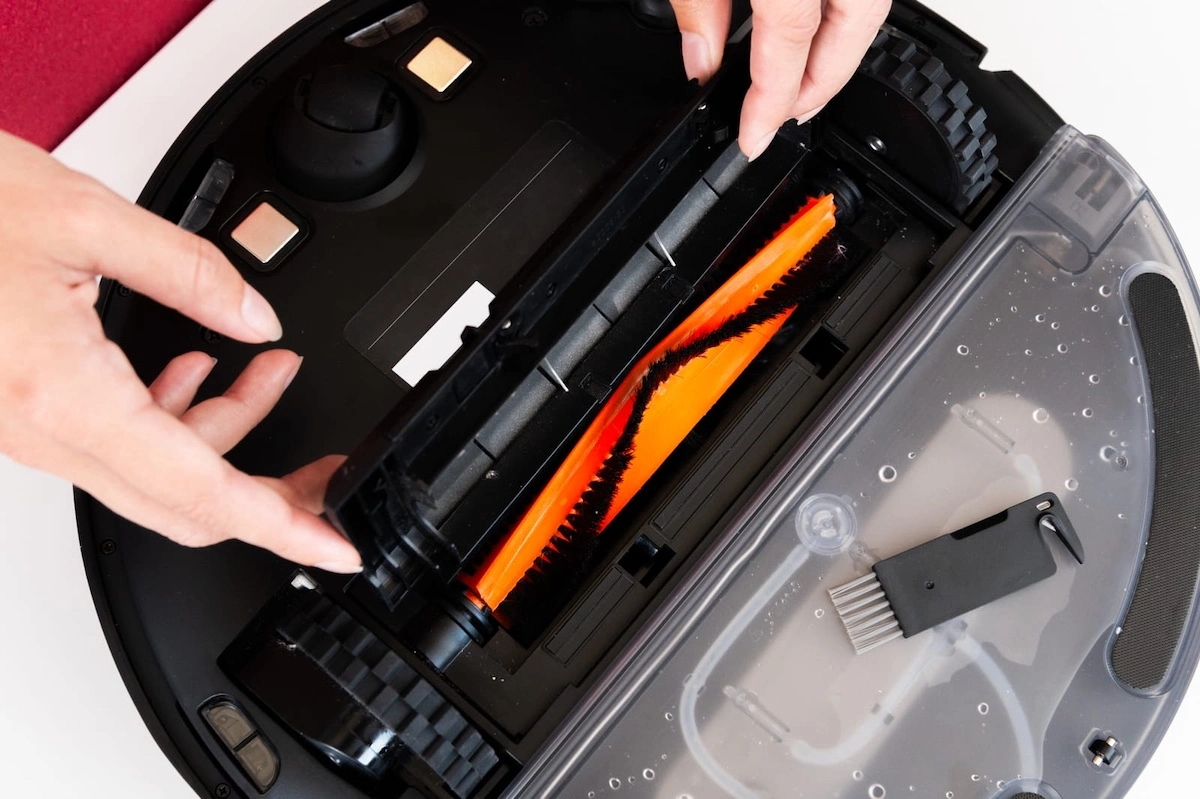
Here’s how to clean a robot vacuum: empty the dustbin, rinse or replace the filter, cut hair off the brush roll and side brush, wipe the sensors and charging contacts, and clean the mop pad or tank if your model has one.
Do the quick version weekly and a full deep clean monthly, and check the wheels for trapped debris before every run if you have hardwood floors, since caked-in grit, not the vacuum itself, is what causes scratches.
What You’ll Need
Gather these before you start.
Most of it you already own.
Tools
- Small scissors or a seam ripper (for cutting hair off the brush roll)
- A soft-bristle brush or old toothbrush (for sensors and wheel wells)
- A microfiber cloth, lightly damp
- Compressed air or a small handheld vacuum attachment (optional, speeds up dustbin cleaning)
Cleaning Products
- Plain water (for washable filters and general wiping)
- White vinegar diluted 1:1 with water (optional, for descaling a self-empty dock’s mop tray)
- Isopropyl alcohol on a cotton swab (optional, for charging contacts)
Step-by-Step: How to Clean a Robot Vacuum
Picture this: your robot vacuum is parked mid-room, making a rattling noise instead of finishing its route, right after the dog shed enough fur to knit a sweater.
That’s almost always trapped hair or a full bin, not a broken motor. Here’s the exact process for how to clean a robot vacuum so it keeps running quietly.
- Power off and empty the dustbin.
Tap it out over a trash can and wipe the inside dry, since a full bin lets dust, pollen, and pet dander recirculate back into the room instead of staying trapped (see the EPA’s guide to indoor particulate matter for what’s actually in that dust).
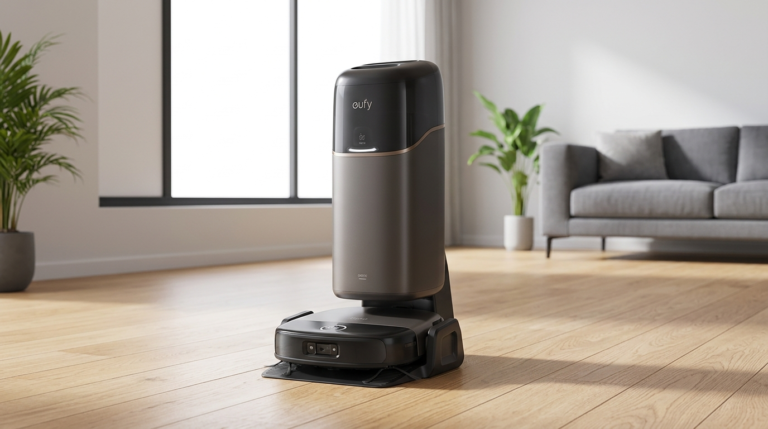
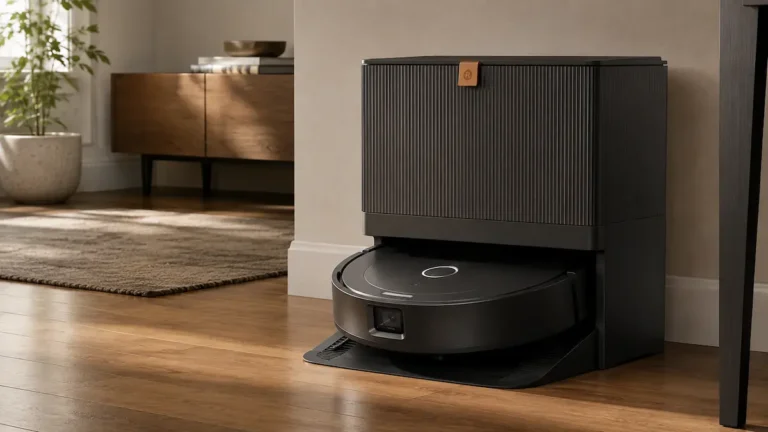
If your model has a self-empty dock, empty its larger bin too, since a full dock bin is a common cause of mid-cycle stalls. - Remove and rinse (or replace) the filter.
Check whether it’s washable or disposable; it’s usually printed on the frame.
Rinse washable foam or mesh filters under cold water until it runs clear.
A disposable paper filter should never touch water. - Cut hair off the brush roll.
Flip the vacuum over and pop out the main roller.
One clean cut lengthwise through wound hair usually lets the whole tangle slide off.
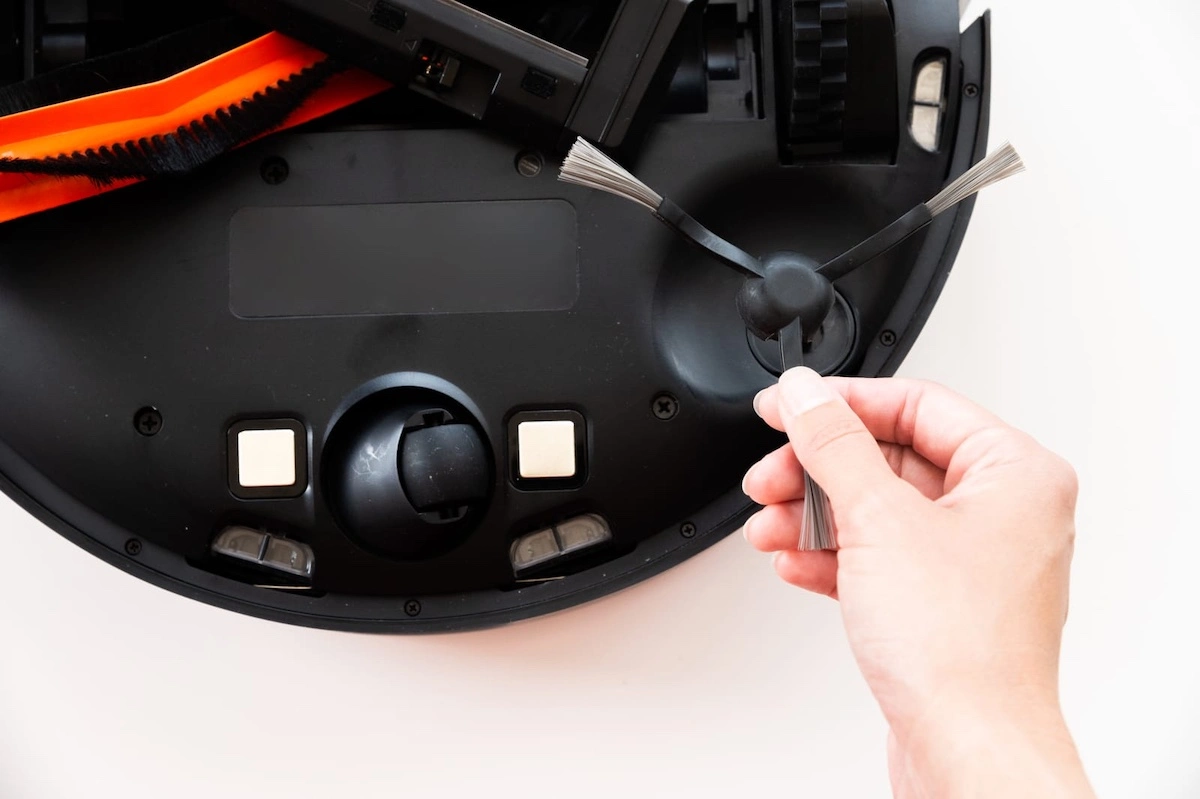
Don’t yank hair off by hand; it stretches the bristles or fins out of shape. - Clean the side brush.
Clear any hair wrapped at its base, near the mounting screw, since that’s where it jams the gear and stalls the motor. - Wipe the sensors.
A dry microfiber cloth on the cliff sensors and front bumper is enough.
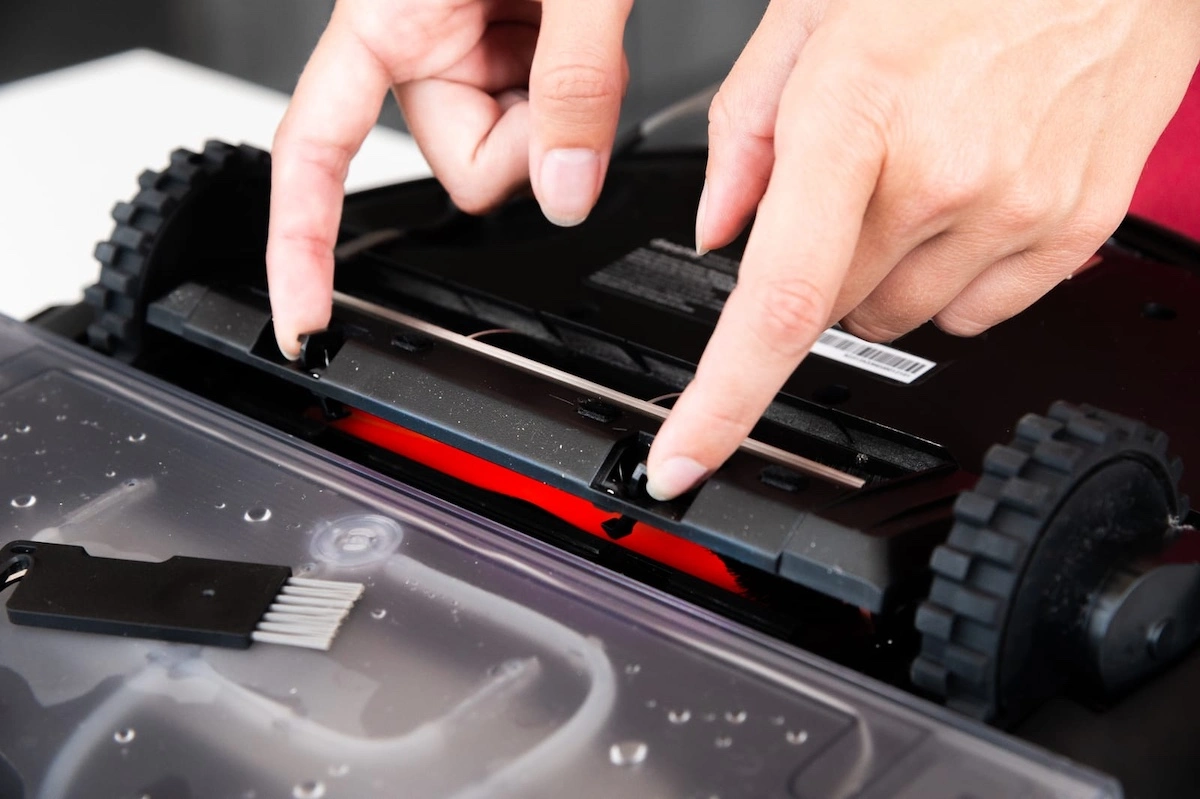
Dust film here causes false “stuck” errors and erratic navigation. - Check the wheels.
Rotate each wheel by hand and pick out hair wound around the axle with tweezers.
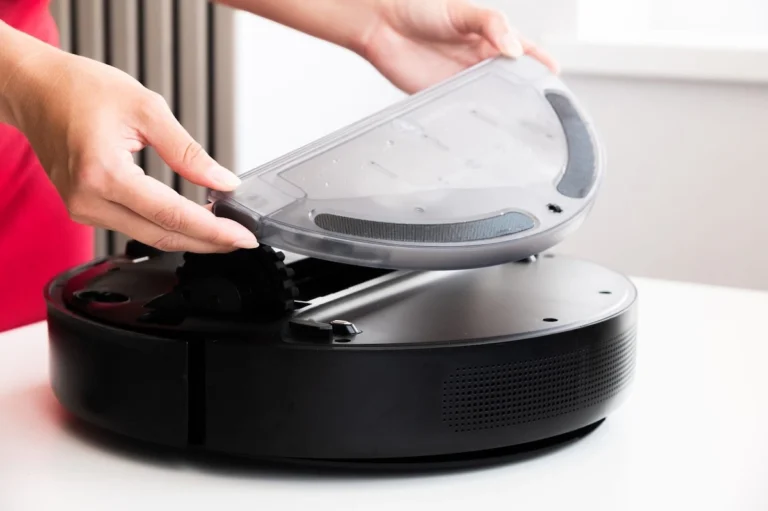
A jammed wheel is one of the most common reasons a robot vacuum drives in circles. - Clean the mop pad or water tank.
Rinse reusable mop pads after every wet run and let them dry fully, since a damp pad left in a dark dock is how mildew smell starts. - Wipe the charging contacts.
Both the metal strips on the vacuum’s underside and on the dock.
A cotton swab with isopropyl alcohol cuts through the oxidation film that causes charging failures.
A washable filter must air-dry completely, usually 24 hours, before you reinstall it, because trapped moisture breeds mold and can short the motor.
This is the step people skip most often because they’re in a hurry to finish.
If you clean weekly and can’t spare the drying window, keep a spare filter on hand so one is always ready.
Why This Works
Each step in this robot vacuum cleaning routine targets a specific failure point.
A clogged filter starves the motor of airflow, so suction drops even though the vacuum sounds like it’s working just as hard.
Hair wound around the brush roll or wheel axle adds mechanical resistance, which is why a dirty unit burns through battery faster and stalls mid-room.
If you have hardwood, engineered wood, or LVP floors, the wheels and brush roll matter even more: grit trapped in a rubber roller is what scratches the finish on the next pass, not the vacuum’s weight or design.
Keeping those two components clear is the highest-leverage thing a premium-floor household can do.
Sensors work like a dusty window works for you: dust doesn’t block the signal entirely, it just scatters it enough that the vacuum misreads distances and bumps into things it should avoid.
A five-minute wipe restores full accuracy.
Common Mistakes to Avoid
- Reinstalling a wet filter.
People rinse it, shake off the water, and reinstall it right away to finish faster.
That traps moisture against the motor housing.
Let it dry fully on a towel for a full day first. - Pulling hair off the brush roll by hand.
Yanking wound hair stretches bristles or rubber fins loose from the roller core.
A single lengthwise cut with scissors lets the tangle slide off intact. - Assuming a self-emptying dock means no manual cleaning.
The dock only handles the dustbin.
Filters, brush rolls, wheels, and sensors still need hands-on attention weekly. - Using dish soap on the mop pad or tank.
Soap residue can clog the pump or streak floors on the next mop cycle.
Plain water, or diluted vinegar for mineral buildup, is enough. - Ignoring a rattling or grinding sound.
That’s almost always debris in the brush roll or a jammed wheel, not a failing motor.
A two-minute check now saves a bigger teardown later.
Safety & Maintenance Tips
Safety
- Power off and unplug the dock before touching the brush roll or wheels; a resting robot vacuum can still spin the brush if bumped.
- Never submerge the vacuum body; only the filter and mop pad, if labeled washable, should touch water.
- Keep charging contacts dry before docking; damp contacts can cause a short, one of the failure modes covered under general battery-product safety guidance from the U.S. Consumer Product Safety Commission.
Maintenance
- Do the quick version (bin, brush roll, sensors) weekly, and the full version (filter, wheels, mop tank, charging contacts) monthly.
- Replace filters every 2 to 6 months and brush rolls every 6 to 12 months, even with regular cleaning, since bristles and foam wear out and lose effectiveness.
- Keep the full routine on the same day each week, trash day works well, so it becomes a habit instead of a chore you forget.
Which Cleaning Routine Is Right for You?
Your household changes how you clean a robot vacuum. Use this to adjust the steps above to your actual situation.
- If you have shedding pets → check and clear the brush roll and filter twice a week instead of once; hair builds up fast enough to jam a motor within days in a multi-pet home.
- If you’re short on time → do the 5-minute version weekly: empty the bin, cut visible hair off the brush roll, wipe the sensors.
Defer the filter rinse and wheel check to a once-a-month deep clean. - If you have hardwood, engineered wood, or LVP floors → check the wheels and brush roll for trapped grit before every run, not just weekly, since that’s the direct scratch-risk point.
- If you have a self-emptying dock → still hand-clean the filter, brush roll, wheels, and sensors weekly; the dock only empties the bin.
- If your brush roll is an all-rubber roller (common on Roborock, Shark, and Dreame) → hair wraps as a single cord around the fins, so one lengthwise cut usually frees it.
If it’s a bristled roller (common on iRobot and Ecovacs) → hair winds around individual bristle rows, so plan on two or three shorter cuts. - If your mop pad or dock tray has white, chalky buildup → rinse with a 1:1 white vinegar and water solution, then plain water, to dissolve mineral scale from tap water.
How We Developed This Guide
We built this robot vacuum cleaning routine by comparing manufacturer maintenance documentation across multiple robot vacuum brands, cross-checking replacement intervals against publicly available product manuals, and reviewing recurring themes in user forum troubleshooting threads to identify which steps actually prevent the most common failures: stalling, poor suction, and navigation errors.
We also referenced EPA guidance on indoor particulate matter to ground the filter and dustbin recommendations beyond brand marketing.
For our full method and scoring rubric, see our review methodology.
Frequently Asked Questions
How often should you clean a robot vacuum?
Do a quick clean weekly and a full deep clean monthly.
The weekly version covers the three highest-impact points: emptying the dustbin, checking the brush roll for wound hair, and wiping the sensors, about five minutes for most households.
The monthly version adds the filter rinse, wheel check, mop tank cleaning, and charging contact wipe, closer to fifteen or twenty minutes.
Households with pets should shift the brush roll and filter checks to twice weekly, since shed fur and dander accumulate faster and are a leading cause of mid-cycle stalls.
If you notice a rattling sound or a drop in suction, clean immediately rather than waiting for the scheduled date.
A good rule of thumb: if you’d empty a regular vacuum’s canister after every use, empty a robot vacuum’s bin at least weekly, since it runs far more frequently in smaller bursts.
Can you wash a robot vacuum filter with water?
It depends on the filter type.
Washable foam or mesh filters, usually marked on the filter frame, can be rinsed under cold running water until it runs clear, typically thirty seconds to a minute.
Disposable HEPA-style paper filters should never touch water; wetting the paper media breaks down its fiber structure and permanently reduces filtration efficiency (per the EPA’s guide to air cleaners), similar to how a wet coffee filter tears and lets grounds through.
The step people miss most with washable filters is drying time: a rinsed filter needs roughly 24 hours of full air-drying before it goes back in.
Reinstalling it damp traps moisture against the motor housing, which can cause mold growth or a short circuit over repeated cycles.
If you can’t spare a full drying day, keep a second filter on hand so one is always ready.
Why is my robot vacuum leaving dirt behind after I clean it?
The most common cause is a filter that was cleaned but not fully cleared, or a brush roll that looks hair-free but still has debris packed into the bristle base where it’s hard to see.
A second cause is a full dustbin that wasn’t seated correctly after reinstalling, leaving a gap that lets debris fall back onto the floor mid-run.
Third, if the side brush wasn’t cleared of wrapped hair at its base, it spins too slowly to sweep debris into the main roller’s path, so the vacuum drives right over dirt without picking it up.
Finally, worn brush roll bristles, typically after 6 to 12 months of use, lose their stiffness and stop making full contact with the floor even when perfectly clean, which is a replacement issue rather than a cleaning one.
How do you remove hair wrapped around the brush roll without cutting the bristles?
Remove the brush roll first; most models release it with a single latch or two small screws.
Use small, sharp scissors or a seam ripper to make one cut lengthwise through the wound hair, following the length of the roller rather than cutting across it.
On all-rubber rollers, common on Roborock, Shark, and Dreame models, hair wraps as a single continuous cord around the fins, so one clean lengthwise cut usually frees the whole tangle.
On bristled rollers, common on iRobot and Ecovacs models, hair winds around individual rows of bristles, so plan on two or three shorter cuts.
Avoid pulling hair off with your fingers alone; that stretches bristles or fins loose from the roller core and can throw it off balance, causing a faint wobble during use.
Does a dirty robot vacuum scratch hardwood floors?
Yes, indirectly, and this is the detail most people overlook.
A robot vacuum’s weight and wheel design rarely scratch a finished floor on their own.
The real risk is grit, sand, or small debris that gets trapped in the wheel treads or packed into the brush roll’s rubber fins or bristle base, which then acts like sandpaper dragged across the finish with every pass.
This is exactly why hardwood floor care routines recommend a daily sweep before any vacuum, robot or otherwise, runs over the surface.
If you have hardwood, engineered wood, or luxury vinyl plank floors, check the wheels and the underside of the brush roll before every run, not just on your weekly schedule.
It takes under a minute and directly prevents the most common cause of fine surface scratching from routine robot vacuum use.
How do you clean a robot vacuum after it picks up something wet or pet waste?
Power the vacuum off immediately and remove the dustbin before doing anything else; running the motor over wet debris risks smearing it deeper into internal components.
Empty the bin into a trash bag, then wash the bin itself with warm water and a small amount of dish soap, rinsing thoroughly.
Remove and clean the brush roll and side brush the same way, since wet debris clings to bristles more than dry dust does.
Wipe the wheel wells and the underside of the body with a disinfecting wipe, then let every component air-dry completely for several hours before reassembling.
If odor persists, a light wipe with diluted vinegar on the plastic housing, never the electronics, usually resolves it.
For the full weekly and monthly rhythm this fits into, see our robot vacuum maintenance schedule, and if you’re shopping for a model that handles pet messes better, our robot vacuum buying guide covers what to look for.
How to Clean a Robot Vacuum: The Bottom Line
Knowing how to clean a robot vacuum comes down to a handful of repeatable steps: empty the bin, rinse or replace the filter, clear the brush roll and side brush, wipe the sensors, check the wheels, and handle the mop system and charging contacts.
Do the fast version weekly and the full version monthly, and shift the frequency up if you have pets or hardwood floors where trapped debris carries a bigger risk.
None of it requires special tools beyond scissors and a damp cloth, and the payoff is a vacuum that runs quieter and actually finishes the job instead of stalling halfway through the living room.
For more on keeping your floors and cleaning equipment in good shape, browse our floor maintenance and care guides, compare models in our robot vacuum vs. regular vacuum breakdown, or start from our home page for our full range of home comfort guides.
If you’re weighing a pet-hair-specific model, our best robot vacuum for pet hair roundup is a good next stop, and if you’re also maintaining a HEPA air purifier, our HEPA vs. true HEPA explainer covers filter care principles that carry over directly.